Marble can turn a shower wall into a calm, bright focal point. Its veining catches light, while its cool surface adds a refined, natural feel. Yet marble is not as forgiving as ordinary ceramic tile. Moisture, weight, uneven walls, and staining can quickly expose careless preparation.
This guide explains How to install marble tiles on a shower wall with practical, professional methods. It covers substrate checks, waterproofing, layout planning, adhesive selection, cutting, grouting, and sealing. Every step matters. A beautiful tile cannot compensate for a weak waterproofing system.
Measure twice.
From experience, the most common failures begin before the first tile is placed. A slightly uneven backer board can create lippage across an entire wall. Poorly supported tiles may shift while the adhesive cures. Unsealed marble can also absorb dark grout or oily residues, especially around niches and corners.
The ten tips below focus on details installers sometimes overlook, including movement joints, tile weight, drain-side alignment, and safe curing times. They are based on standard tile-setting practices and manufacturer guidance, but materials differ. Always check the adhesive, membrane, grout, and sealer instructions before use. Even experienced installers occasionally underestimate a difficult cut or rush the final inspection. Slow down when the wall feels unfamiliar. Careful planning usually saves more time than repeated repairs.
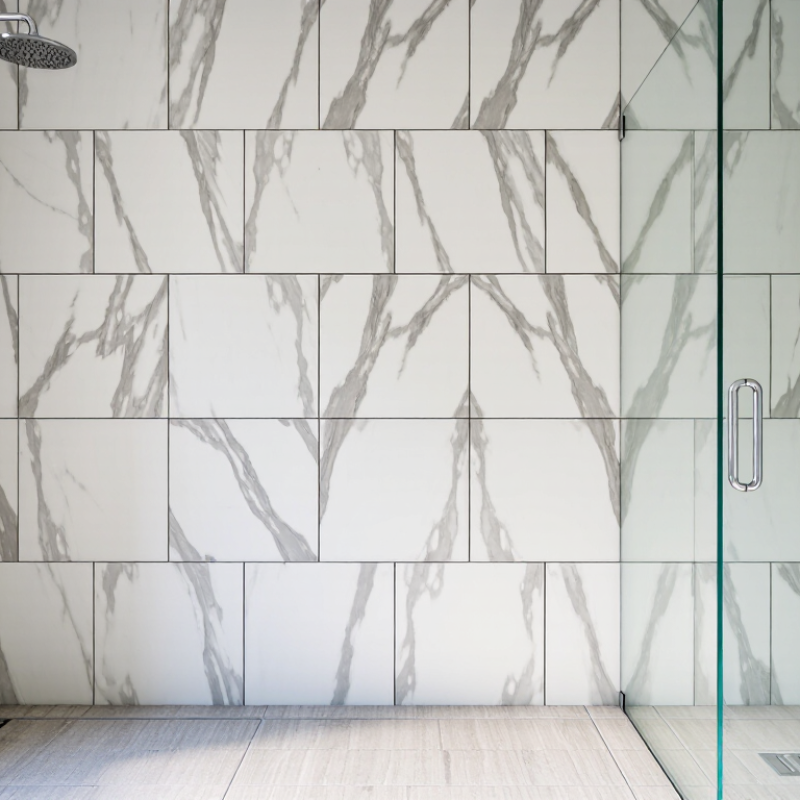
Before ordering marble, inspect the shower wall like a moisture-control system, not a blank canvas. Check that framing is firm, the surface is flat, and corners are square. A 3 mm irregularity can become obvious beneath large, polished tiles. ANSI A108.5 guidance calls for at least 95% mortar coverage in wet areas, so deep wall dips create real installation risks. The substrate must also support a continuous waterproofing system meeting ANSI A118.10. Tile alone does not stop shower moisture.
Marble varies significantly in porosity, veining, and mineral stability. Request the supplier’s ASTM C97/C97M absorption results, then compare them with the stone’s intended shower use. Lower absorption is helpful, but it does not remove sealing or maintenance requirements. The Natural Stone Institute’s Dimension Stone Design Manual, Version 8.0, also emphasizes evaluating stone finish, thickness, and expected exposure. View full-size samples under bright, wet-looking light. Small samples hide dramatic veins and open fissures. Test one spare tile with water and a neutral cleaner. It may reveal darkening or etching. I would not trust appearance alone. A mockup is slower, yet it can expose shade variation, uneven edges, and grout color problems before installation.
| No. | Installation Focus | What to Check or Do | Recommended Target | Why It Matters |
|---|---|---|---|---|
| 1 | Inspect the wall structure | Check that framing, backer boards, and fasteners are secure and free from movement. | No visible flexing | Movement can crack marble, grout, and joints after installation. |
| 2 | Confirm wall flatness | Use a straightedge across the planned tile area and identify high or low spots. | Within about 3 mm over 2 m | A flat surface helps prevent lippage and uneven adhesive coverage. |
| 3 | Verify waterproofing | Use a complete shower-rated waterproofing system behind or over the tile backer, following its installation instructions. | Continuous and properly sealed | Marble tile and grout are not a substitute for a waterproof shower assembly. |
| 4 | Select shower-suitable marble | Choose sound, dense marble rated by the supplier for wet interior wall use; avoid cracked or heavily fissured pieces. | Low to moderate porosity | Porous or weak stone can absorb moisture, stain, or deteriorate more easily. |
| 5 | Check tile thickness and size | Use tiles that can be handled safely and supported by the selected mortar and wall system. | Consistent thickness | Uniform tiles make alignment easier and reduce uneven adhesive buildup. |
| 6 | Plan the layout | Dry-lay tiles, center visible walls, balance cuts, and mark plumbing penetrations before applying mortar. | Avoid narrow edge cuts | A planned layout improves appearance and reduces waste or fragile slivers. |
| 7 | Use compatible mortar | Select a white, polymer-modified mortar or other product specifically approved for natural stone and wet areas. | Full, even coverage | Suitable mortar reduces staining risk and supports the stone evenly. |
| 8 | Maintain consistent joints | Use spacers or a leveling system, while allowing for the marble’s dimensional variation. | Typically 2–3 mm | Consistent joints create cleaner lines and provide room for grout movement accommodation. |
| 9 | Seal when appropriate | Test an offcut first, then apply a penetrating sealer compatible with the specific marble if recommended. | Follow product cure time | Sealing can improve stain resistance but does not make marble waterproof. |
| 10 | Protect and maintain the finish | Use a non-acidic stone cleaner, remove standing water, and inspect caulk and grout joints regularly. | Routine visual inspection | Acidic cleaners may etch marble, while damaged joints can allow moisture behind the tile system. |
Note: Always follow the installation requirements of the waterproofing, mortar, grout, sealer, and natural-stone products selected for the project.
Keep a level, tape measure, pencil, notched trowel, mixing paddle, buckets, spacers, and wet saw nearby. Wear eye protection, gloves, and a fitted dust mask. Keep a rubber float, grout sponge, and microfiber cloth ready.
Use stable cement backer board, a compatible waterproof membrane, sealing tape, and preformed corner pieces. Follow the membrane’s curing requirements carefully. The tile surface is not the waterproof barrier.
White mortar helps reduce visible discoloration behind light marble. Keep the substrate flat. Even a small ridge can make polished tile look uneven.
Dry-lay several tiles around valves, niches, and edges before mixing mortar. Mark every cut with a pencil. Confirm measurements twice. Marble can chip unexpectedly.
Work in small sections and comb mortar consistently with the notched trowel. Periodically lift a tile to inspect its back. Coverage should look even and sufficient.
Use flexible sanitary silicone at corners and other changes in direction. Do not rely on grout alone. Small gaps can admit water.
Ensure the tile and grout are cured, dry, and free from construction dust. Test the sealer on an offcut first. Marble porosity can vary. Apply it in small sections with a lint-free cloth. Remove excess before drying.
Squeegee the wall after each shower to reduce standing water and mineral deposits. Use a pH-neutral cleaner and a soft cloth. Avoid acidic products, rough pads, and powders.
Inspect grout, corners, and fixture areas every few months. Test with a few water drops. Darkening or spreading stains may show worn protection. I once ignored a faint corner stain. That was a mistake.
How to install marble tiles on a shower wall begins with carefully evaluating the wall’s condition, moisture exposure, and structural stability before selecting marble tiles suited to a wet environment. Gather the necessary tools, tile adhesive, spacers, grout, level, cutting equipment, protective gear, and waterproofing supplies. The surface should be clean, flat, dry, and properly waterproofed to help prevent moisture damage behind the tiles.
Plan the layout from the center or a visually balanced starting point, allowing for consistent cuts and spacing around corners, fixtures, and edges. Apply the correct adhesive evenly, press each marble tile firmly into place, and use spacers to maintain straight, uniform joints. After the adhesive cures, grout the joints carefully and remove residue without scratching the marble. Finally, seal the completed surface with a suitable stone sealer and maintain it by wiping away water, using gentle cleaners, and checking periodically for stains, cracks, or worn sealant.

 Gem Marble